Favorite Things Party

 I really wanted an excuse to get a few girls together! So my friend Nina suggested a ‘Favorite Things Party!’

It was a lot of fun. Each girl brought 5 of their favorite thing. (5 of the SAME thing that is.) Each girl’s name was put in a bowl 5 times. So everybody left with 5 NEW favorite things!

I found several blogs that helped me get ideas for the party. I made these bags for everyone to take home their goodies in. I found the clipart “These are a few of my Favorite Things” online and glued them to the bags!

Last minute I found these cute bookmarks! (I will post a link later)

Everyone was require to bring their favorite dessert or appetizer…here are a few of MY favorites.

Nina made these YUMMY fruit heart shaped pizzas! They were DELISH!

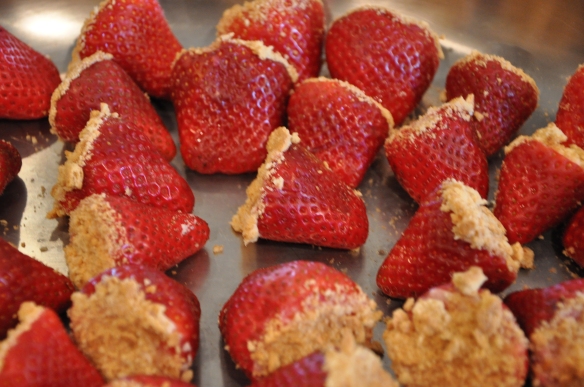
Can I say the thing I brought was a favorite?!? I think I ate the most of these bad boys. They are so good….and addicting! You can find the recipe here.

Here is a list of what everyone brought!

Mini Spatula

Burts Bees Chapstick

Martha Stewart Magazine

Pens

Red Nail Polish

Mini Candles

And Marsha brought 5 different things on accident:

Socks, Stickers, Coffee, Pens, Twizzlers

The party was so much fun! Only thing we failed at….was NOT taking a picture together!

🙂

Christmas Decor, Part 2

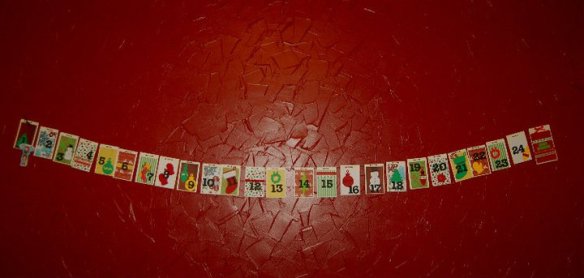
Last year I made this advent calendar to hang on our red wall!

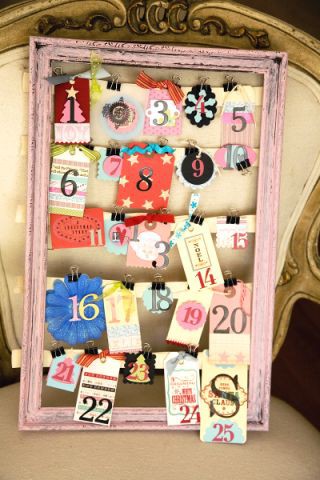
but this year…I found this cute advent calendar on Pinterist!

Isn’t it just the cutest?!? So of course….I had to make one! But I didn’t have enough time to make the whole thing from scratch. So I just took the one I made last year and….

I am using that cute reindeer clothes pin to ‘pin’ what day it is!

—-

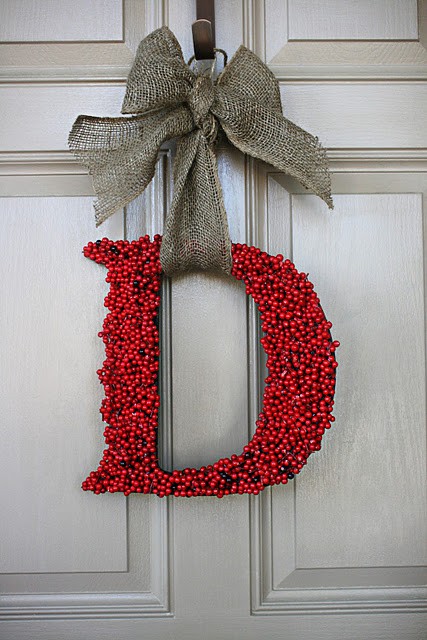
I also found this on Pinterist! (Am I obsessed…maybe a little)

So of course…I HAD to make one!!

I thought it was so cute! I don’t think this photo (from my iphone) does it justice!

What have you been crafting lately?!

Christmas Decor

Last year was my first Christmas as a married woman! It was fun to buy stockings and decorations for our home!

Before we got married I bought the boy and girl for Brian and I to paint together! Last year I found this cute reindeer to paint as Sally! But now that we have added Reecie POO to our family…..

Isn’t it cute?!?!

And now we all have stockings! I am so many more things I want to make from Pinterist to decorate our home! I will post pictures of all our decor soon!

Happy Sweet Tea Thursday!

Christmas Tree Tutorial

As you know I am a Pinterist ADDICT! I found this super cute wood tree on Pinterist.

Isn’t that the cutest?! Well I decided that I wanted to make one for Christmas. Only problem…there was no tutorial! So I sent my dad this picture and told him I wanted to make it…and he said ‘consider it done!’ (Just one of the many reasons my dad is so great!)

So here you are….here is MY tutorial for a DIY wood tree.

Step 1: Find some wood. I used 2 pieces of wood that were 3 1/2 inches wide and 12 feet long! But you can use whatever wood you would like.

Step 2: Choose your dimensions! Since our house is small…I decided to make mine a lot smaller than in the picture. I kinda just estimated the dimensions of how I thought it would look best. It doesn’t have to be perfect! It gives it character! 🙂

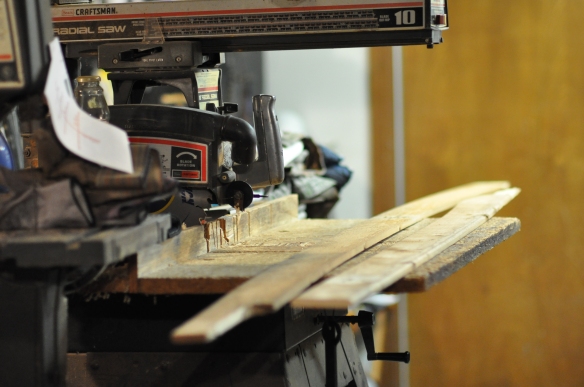
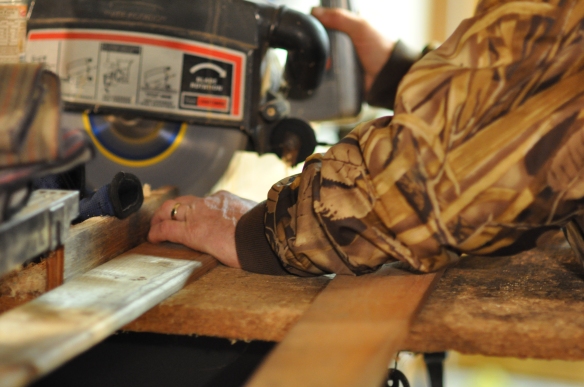
Step 3: Use a wood saw and cut the wood according to your dimensions(or have your dad do it!) 🙂

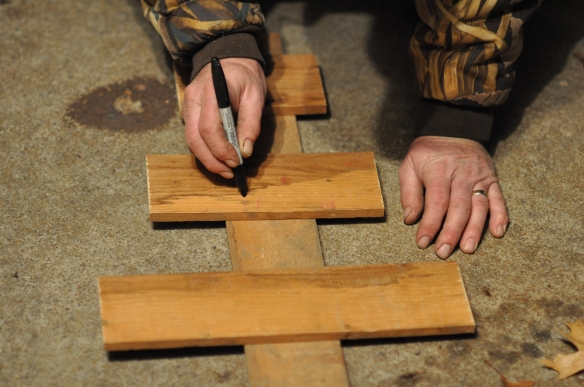
Step 4: After you cut the wood, lay the pieces out the way you want to screw them together. After you lay them out, use a sharpie to mark where the screw should go. (To insure a secure hold, use two screws for each piece of wood.)

Step 5: If you have a fancy machine like my dad does (whatever kind of machine that is) you can put the holes in the wood before you use a screwdriver to put the screw in. If not that is ok! Just use a screwdriver and put the screws in the spots you marked in Step 4.

After you are done with the screws…you are done with the construction!

Thanks dad!! (P.S. He liked it so much…we made another one for him to put in his office!)

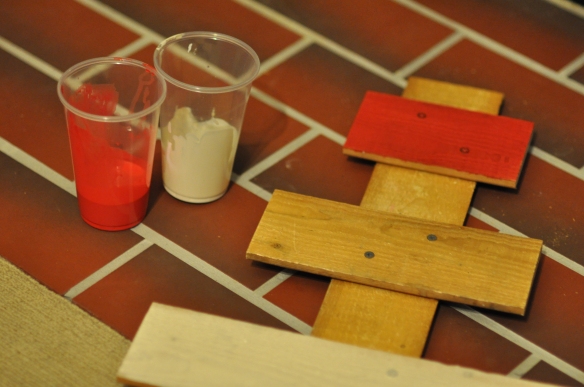
Step 6: Paint it! I decided to have more of a Christmas theme for mine. So I painted mine red and cream. I watered my paint down just a little so you could still see the marking on the wood.

Step 7: Final step…decorate it! I went to Hobby Lobby and bought ornaments to hang on my tree!

I love it! I just leaned mine against a wall in our house! It makes such a great Christmas decoration and it was so easy to make!

Happy Crafting!